GBIF and Apache-Spark on AWS tutorial
Some queries in the blog post can be done for free using a new feature called GBIF SQL downloads.
GBIF has snapshots of billions occurrence records on Amazon Web Services (AWS). This guide will take you through running Spark notebooks on AWS. The GBIF snapshot is documented : here.
You can read previous discussions about GBIF and cloud computing here. The main reason you would want to use cloud computing is to run big data queries that are slow or impractical on a local machine.
In this tutorial, I will be running a simple query on billions of occurrences records. I will be using apache-spark with the Scala and Python APIs. This guide is similar to the one written previously about Microsoft Azure. You can also work with the snapshots using SQL example here.
The snapshots includes all records shared under CC0 and CC BY designations published through GBIF that have coordinates which have passed automated quality checks. The GBIF mediated occurrence data are stored in Parquet files in AWS s3 storage in several regions.
Running Apache-Spark on AWS
Create an AWS account : here
You will be able to run free queries for a time, but eventually you will have to pay for your compute time.
Sign into the console account. I logged in as the root user.

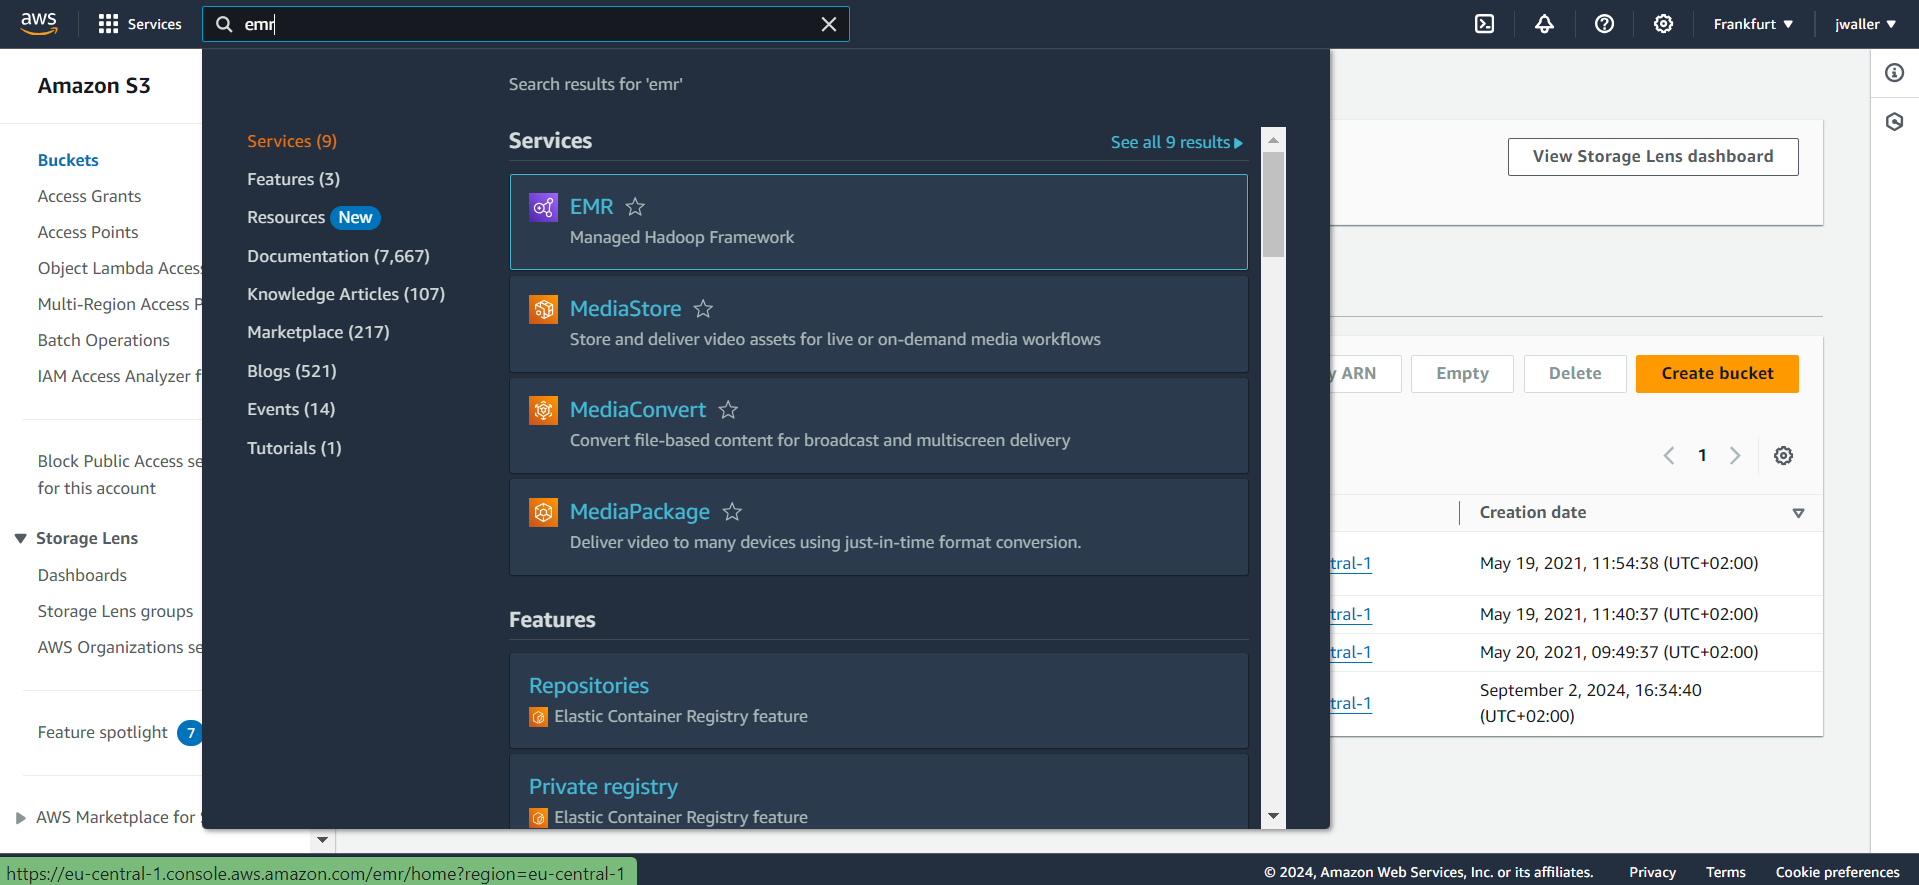
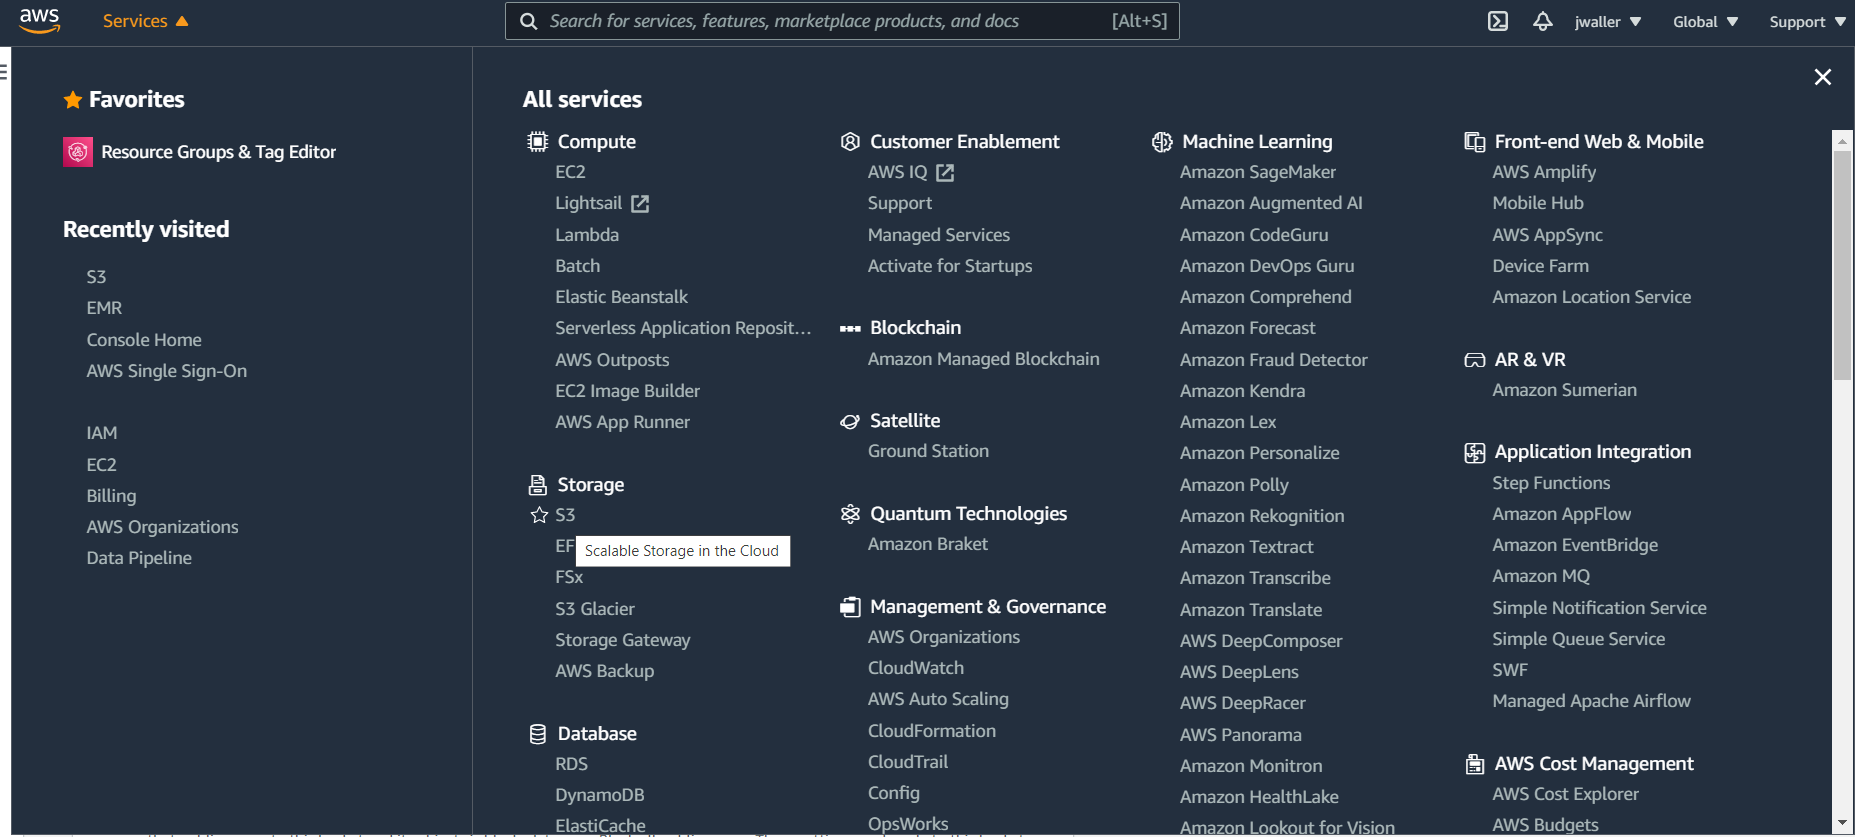
In the services drop down (there are a lot of services), search for and click on EMR.
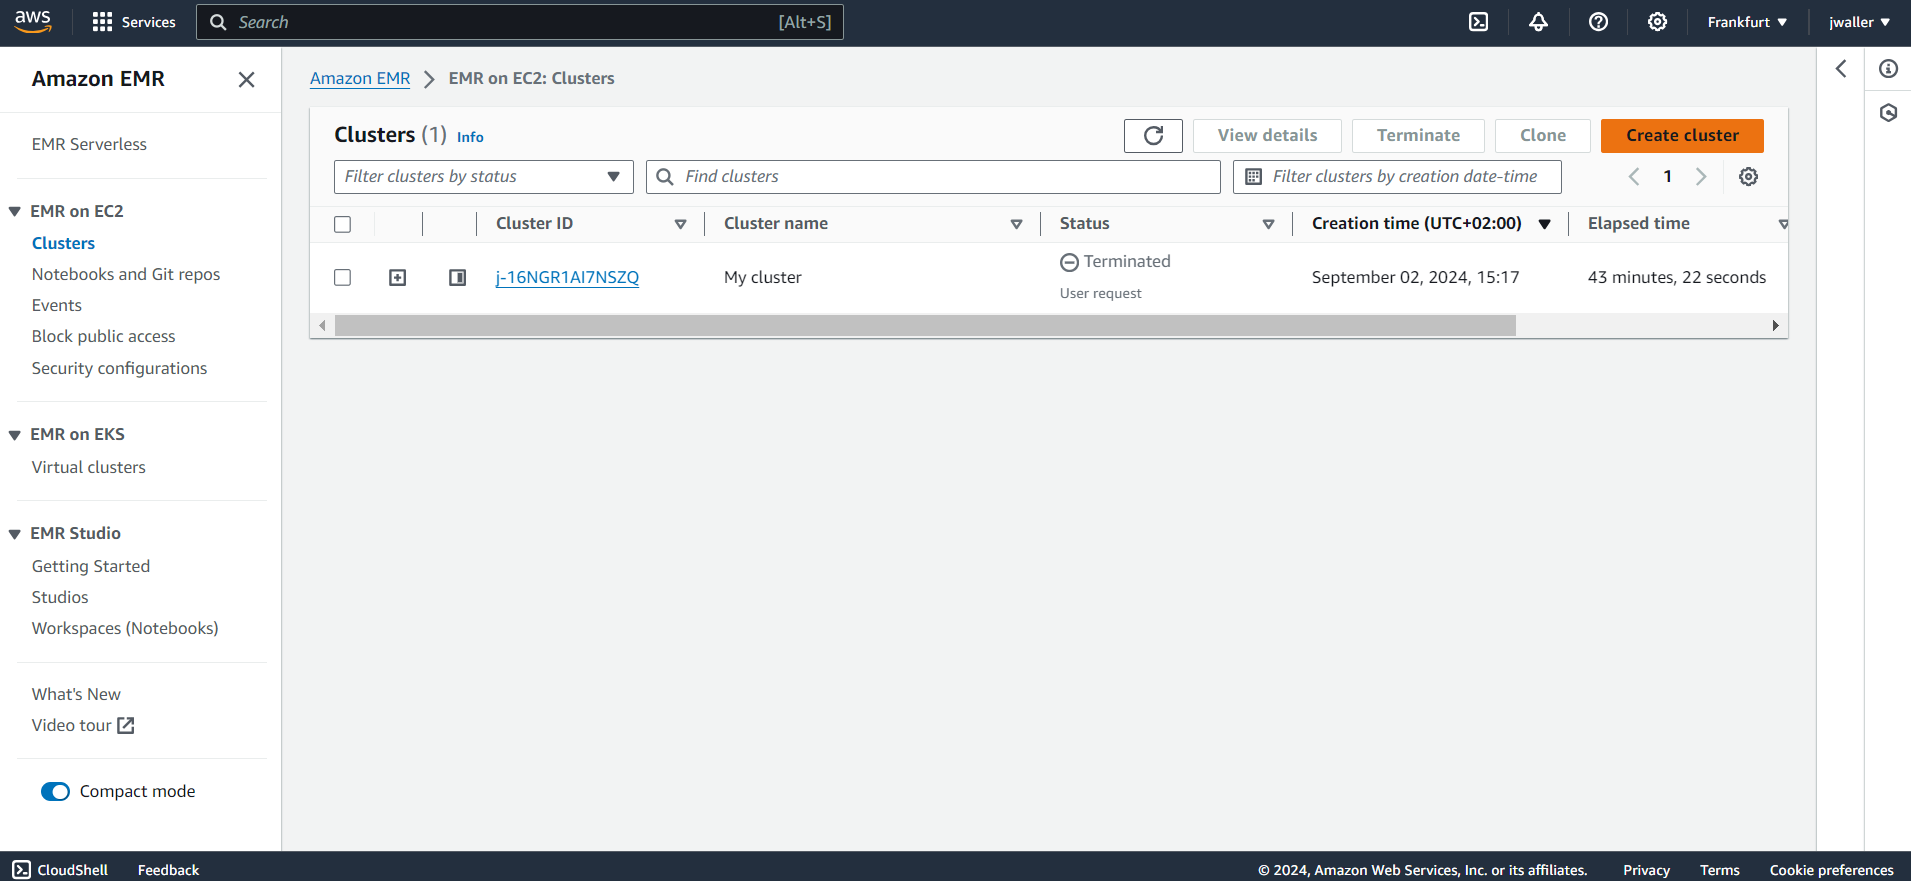
Next click create a cluster.
Configure your cluster.
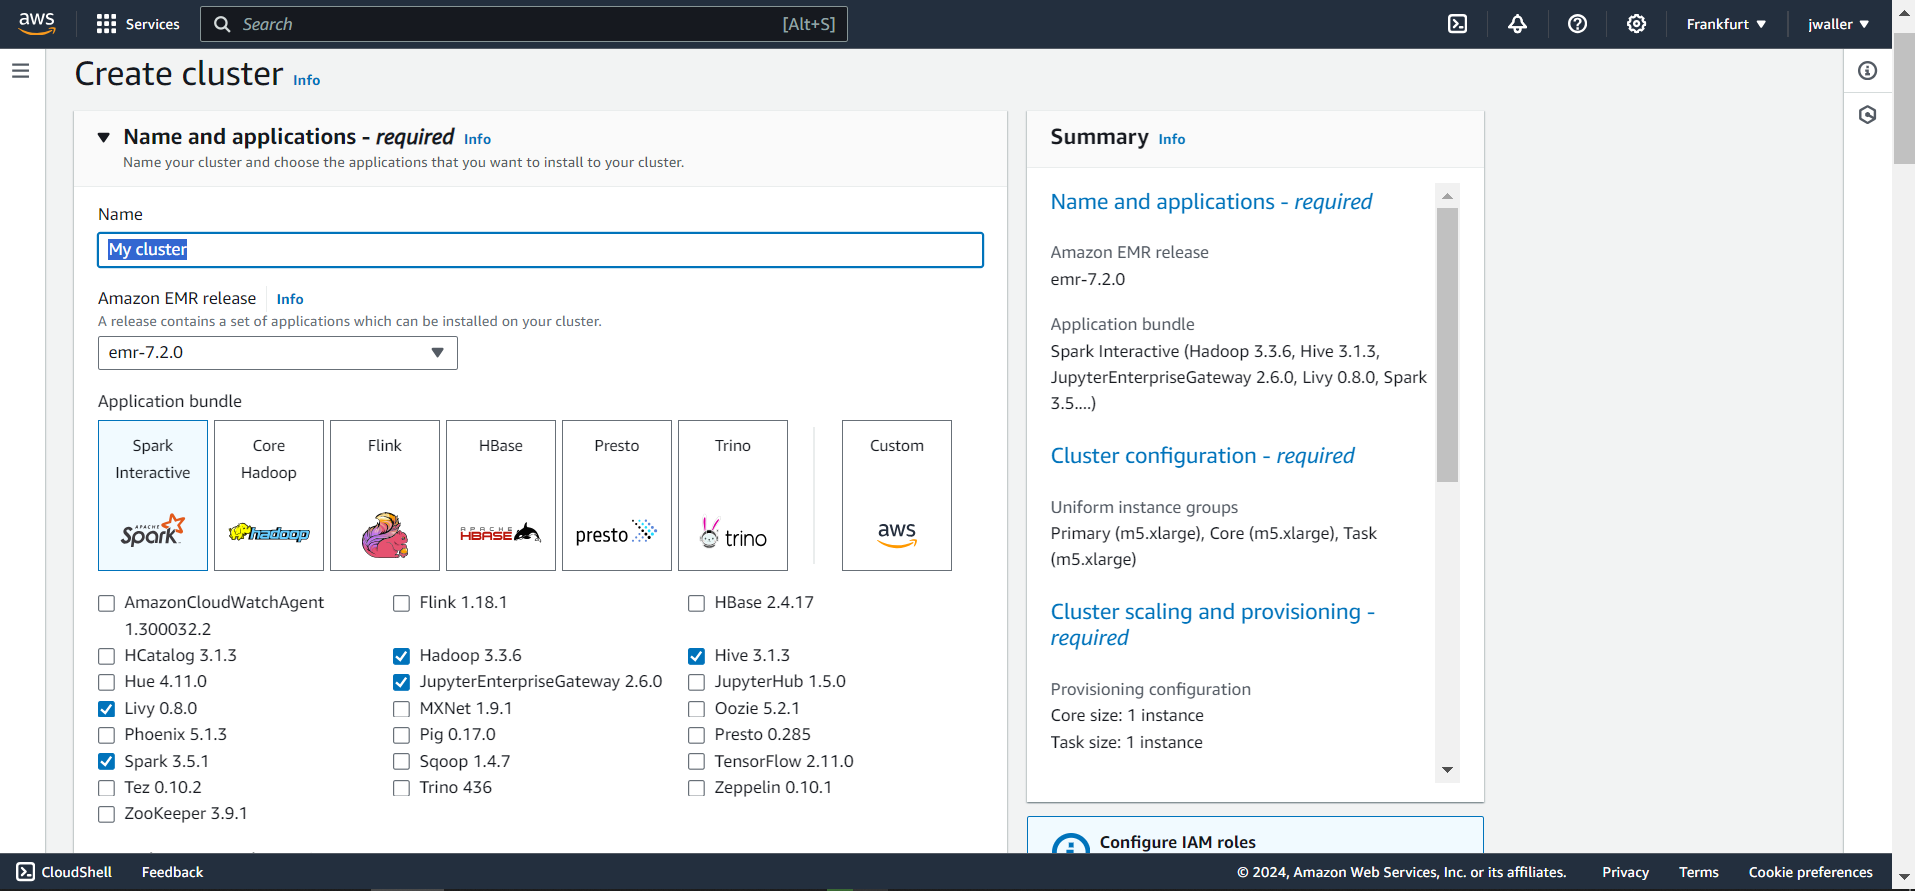
Make sure to select:
- Livy
- Spark
- JupyterHub
You can keep also these selected: Hadoop, Hive, Pig, Hue.
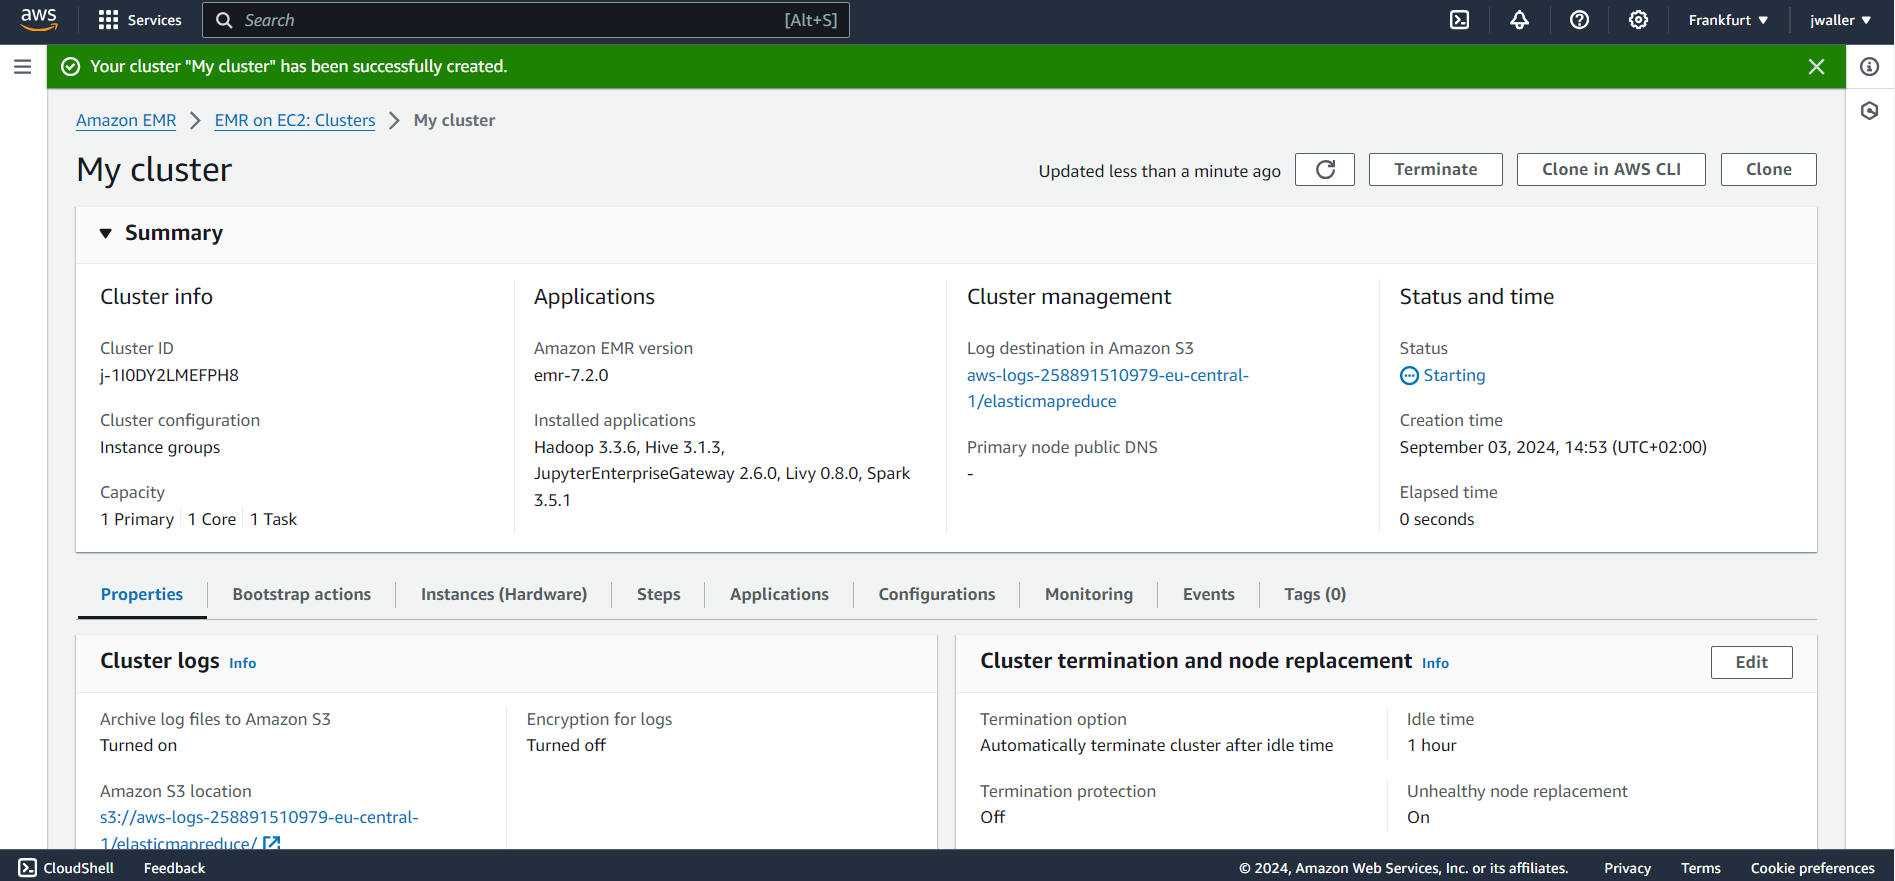
I used emr-7.2.0. I found some other emr versions didn’t work. You might want to use the latest emr version. Give your cluster a name. I called mine gbif_cluster. I kept all of the other default settings. The cluster will take a few minutes to start up. Make sure to terminate your cluster when you are finished with this tutorial because Amazon will charge you even if your cluster is in the “Waiting” state.
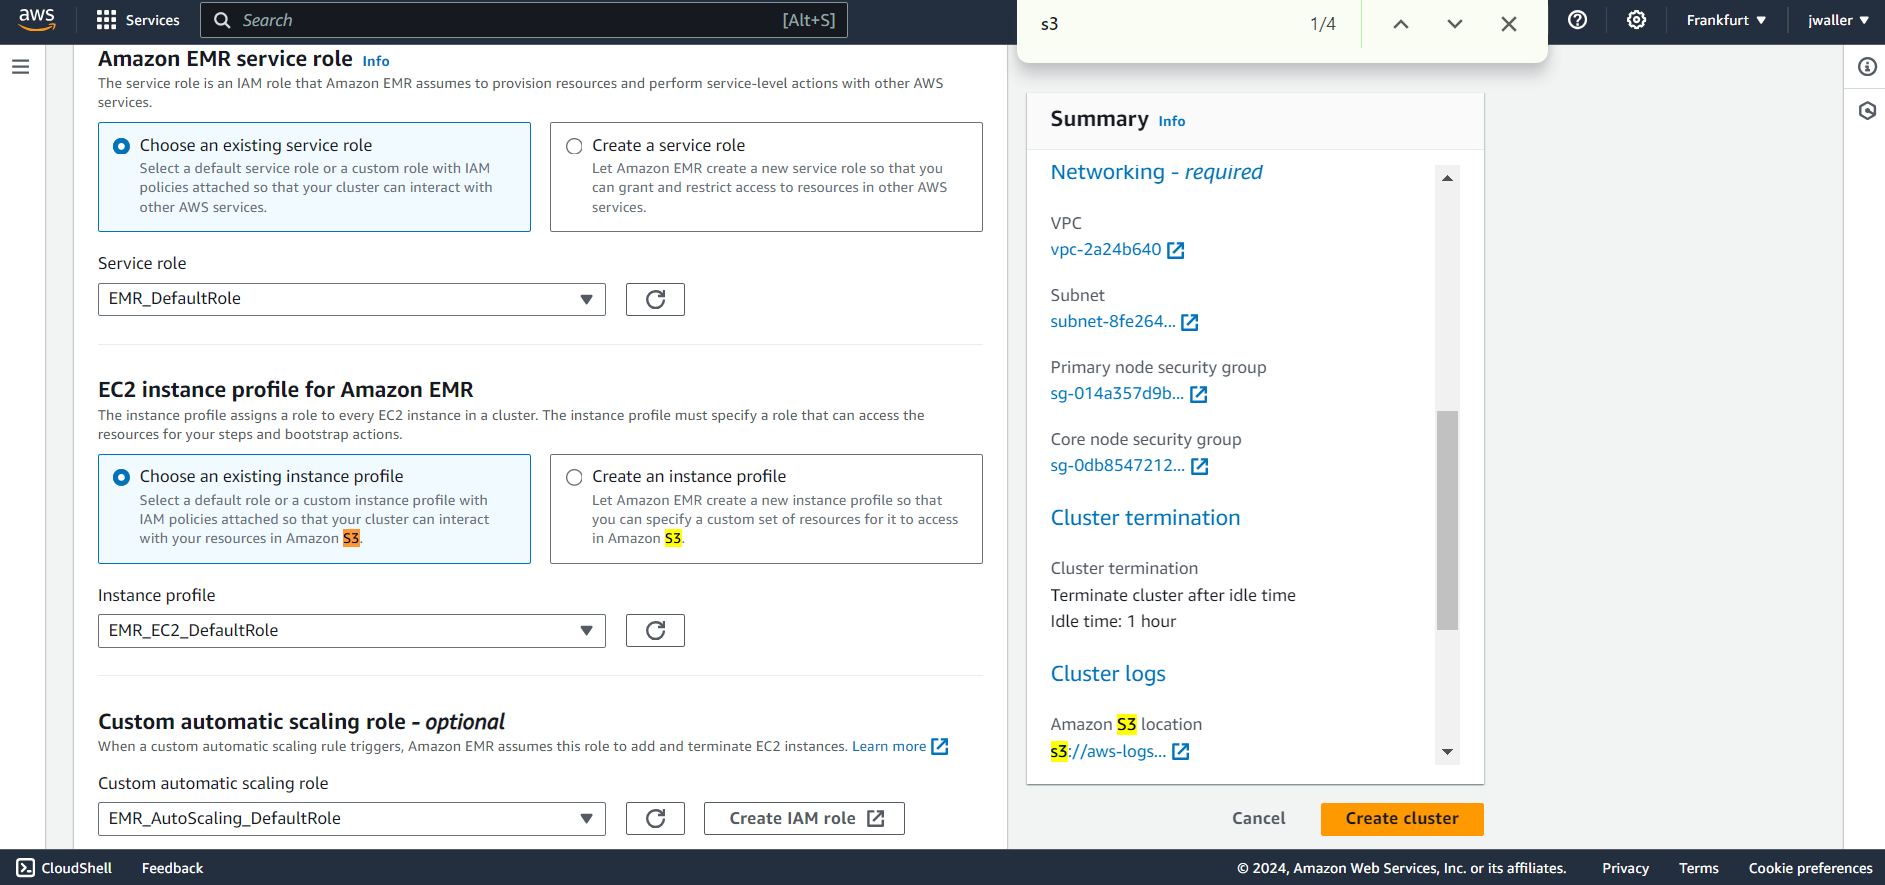
I selected default settings for each EMR role.
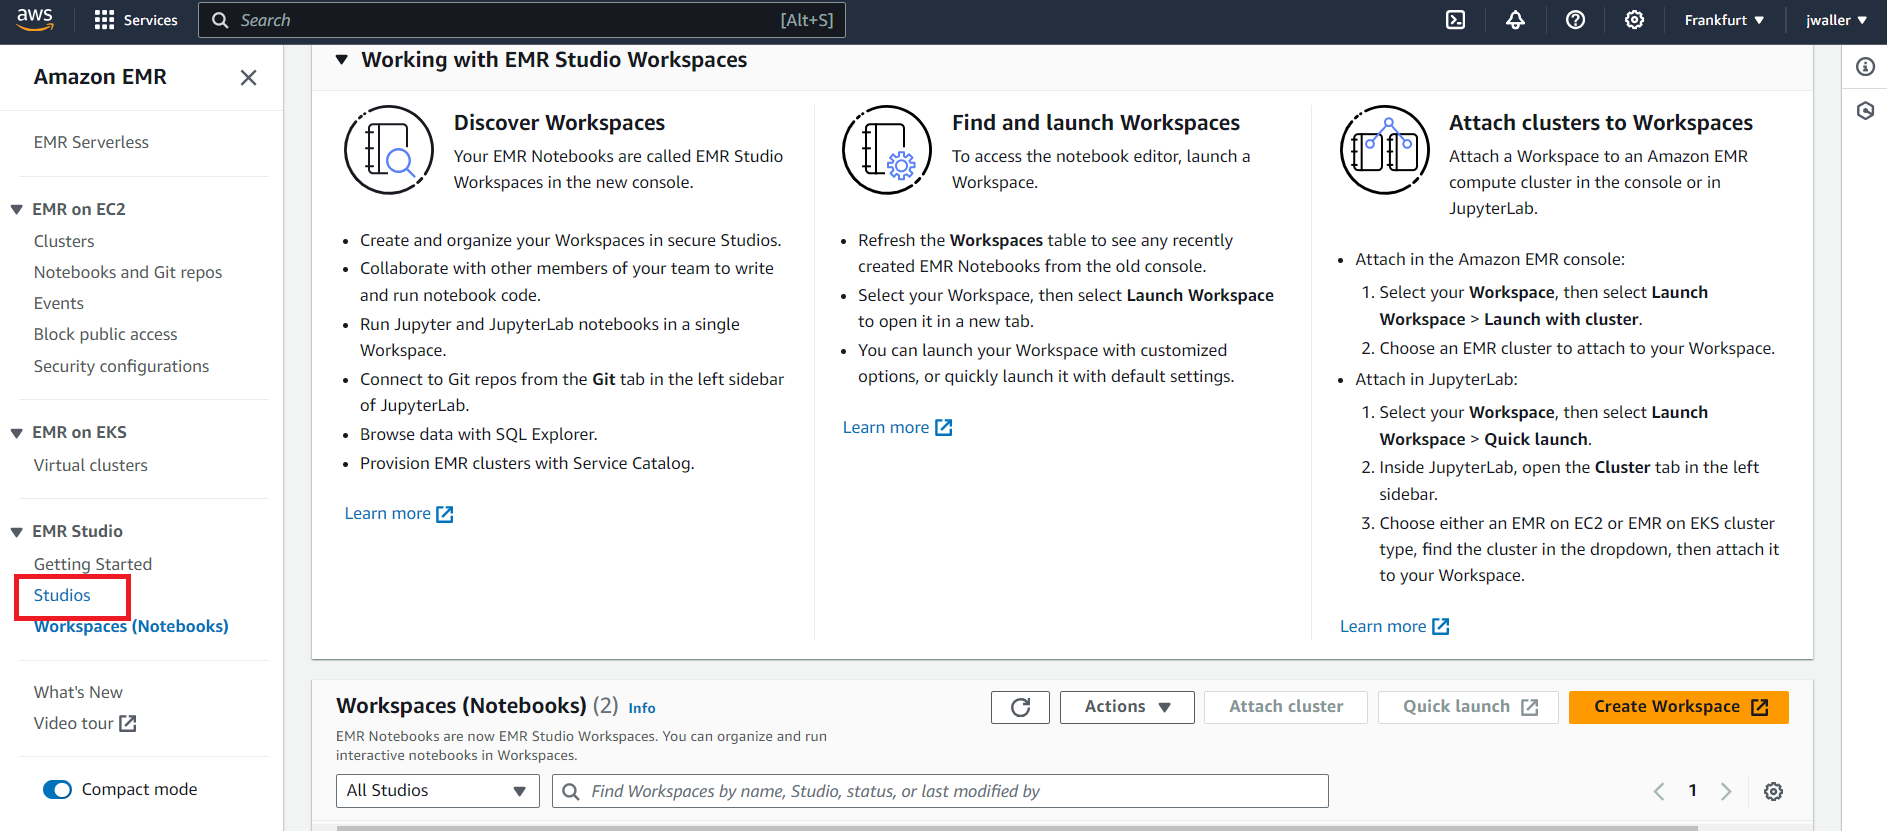
Next find studios. Look in the side panel if you don’t find it.
Next we will create a Studio. Click create Studio.
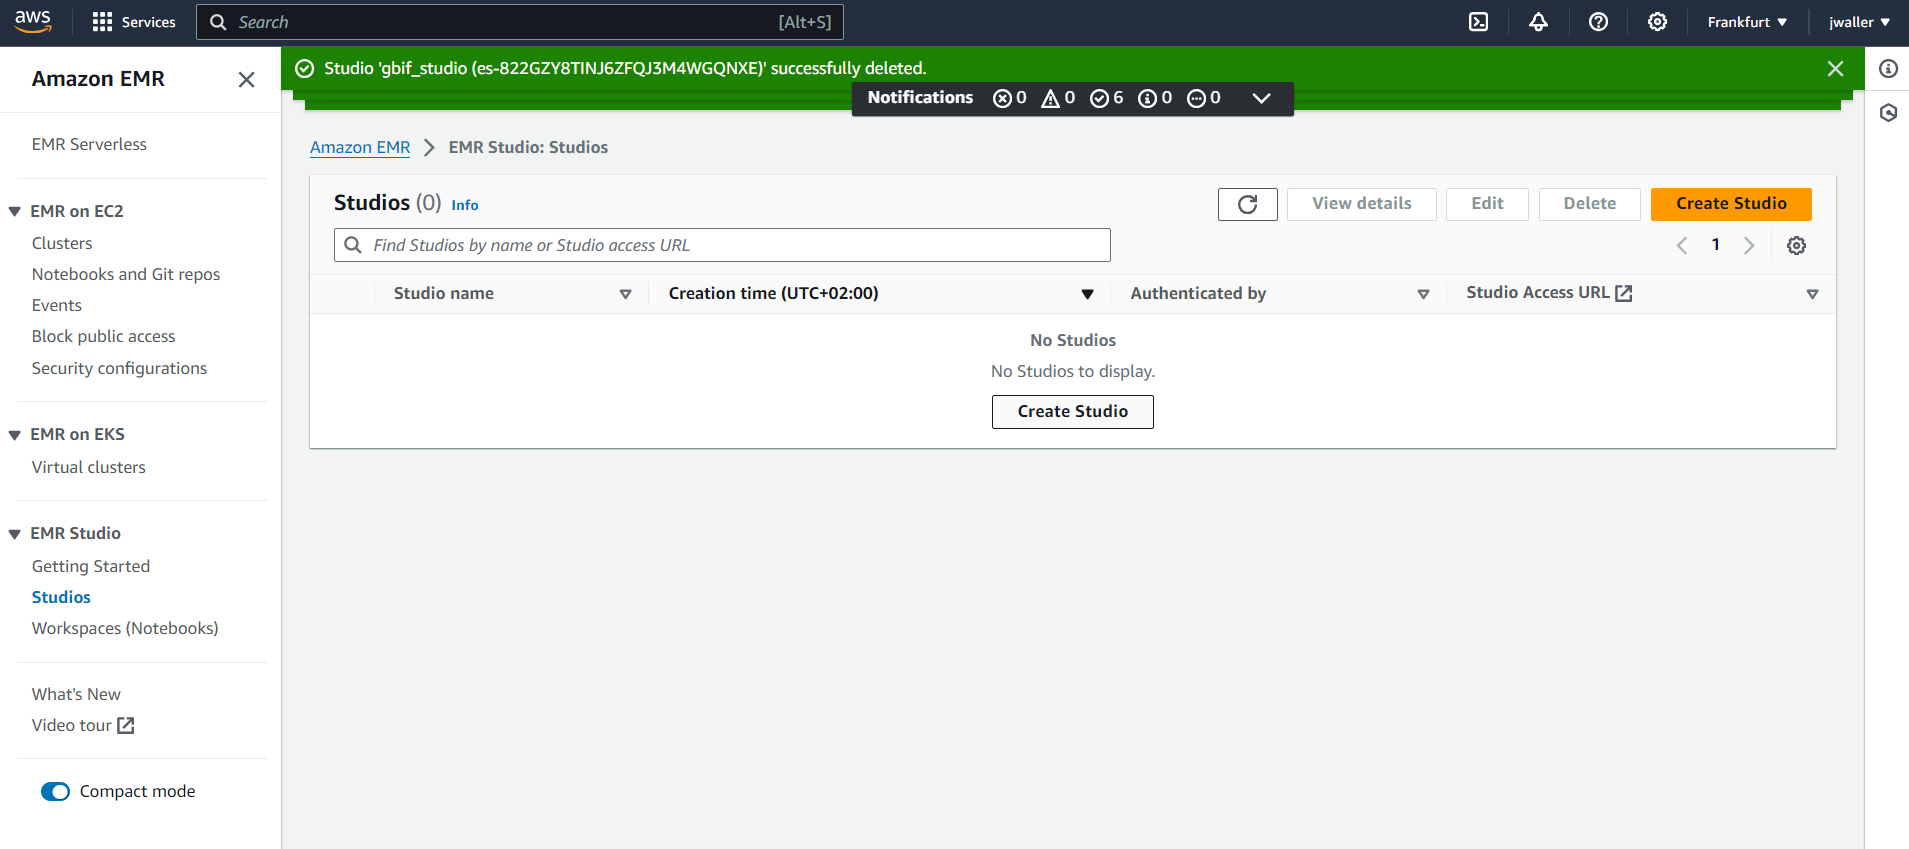
Set up a Studio. I named my studio gbif_studio.
AWS now requires you to set up an s3 bucket to store your data before creating a workspace.
Go to s3. In the services drop down (there are a lot of services), find and click on S3.
Create a s3 bucket.
Give your s3 bucket a globally unique name. I have used “gbifbucket”, so you will have to pick another one. Keep all of the default settings.
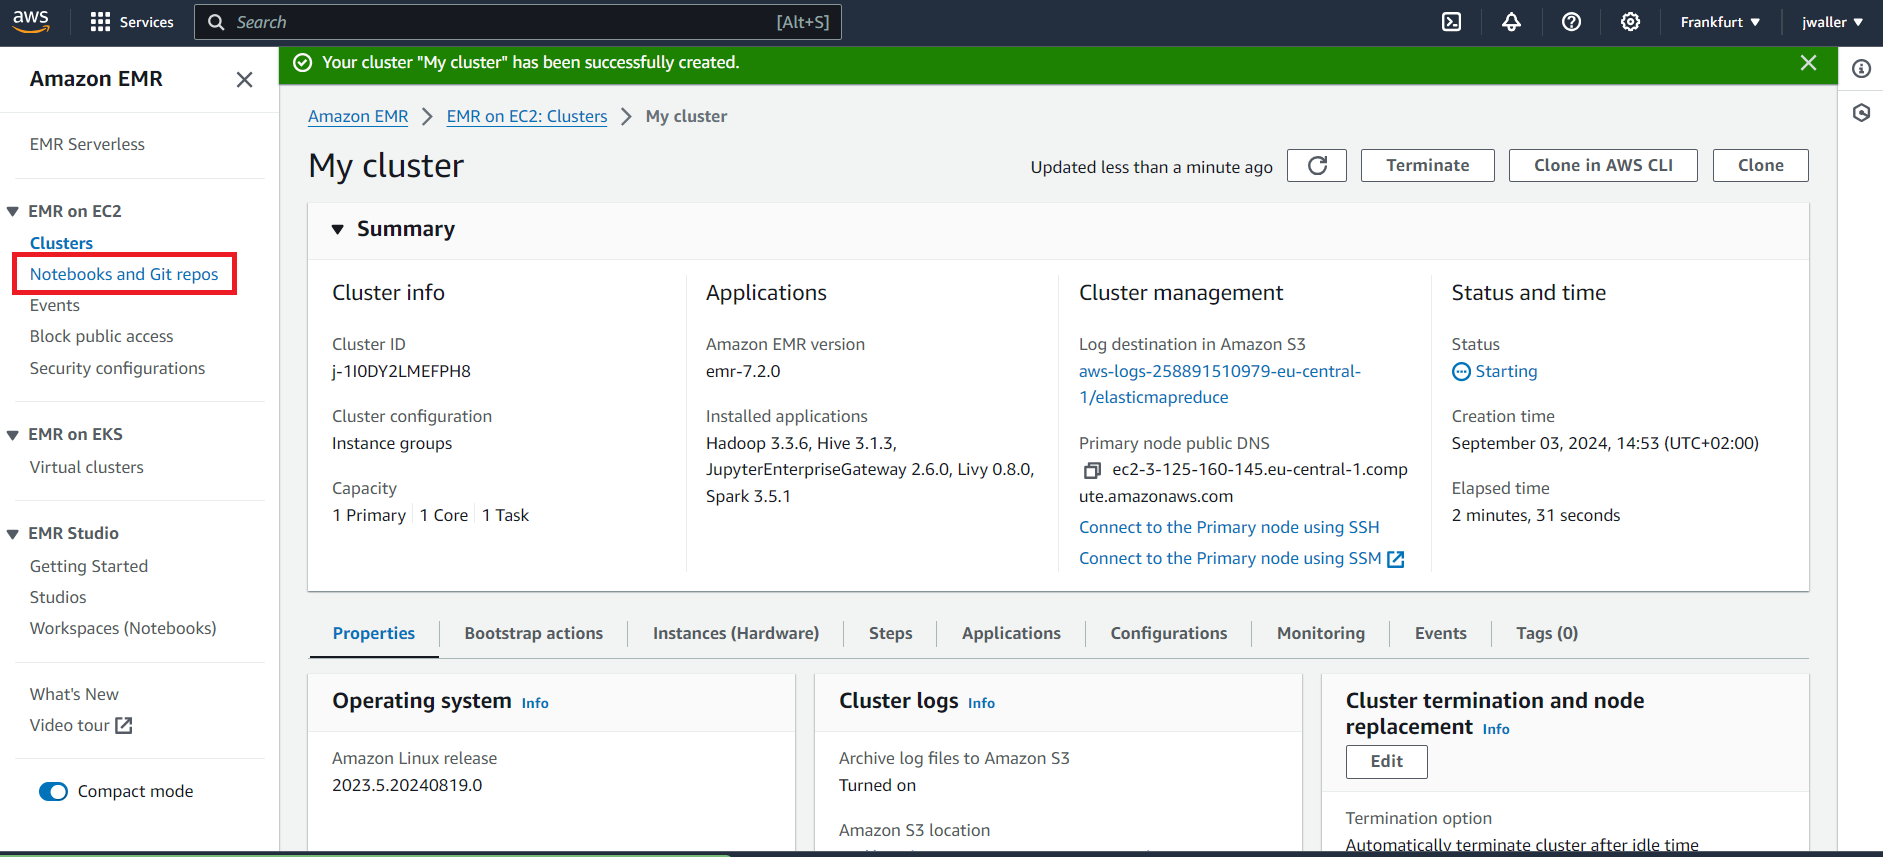
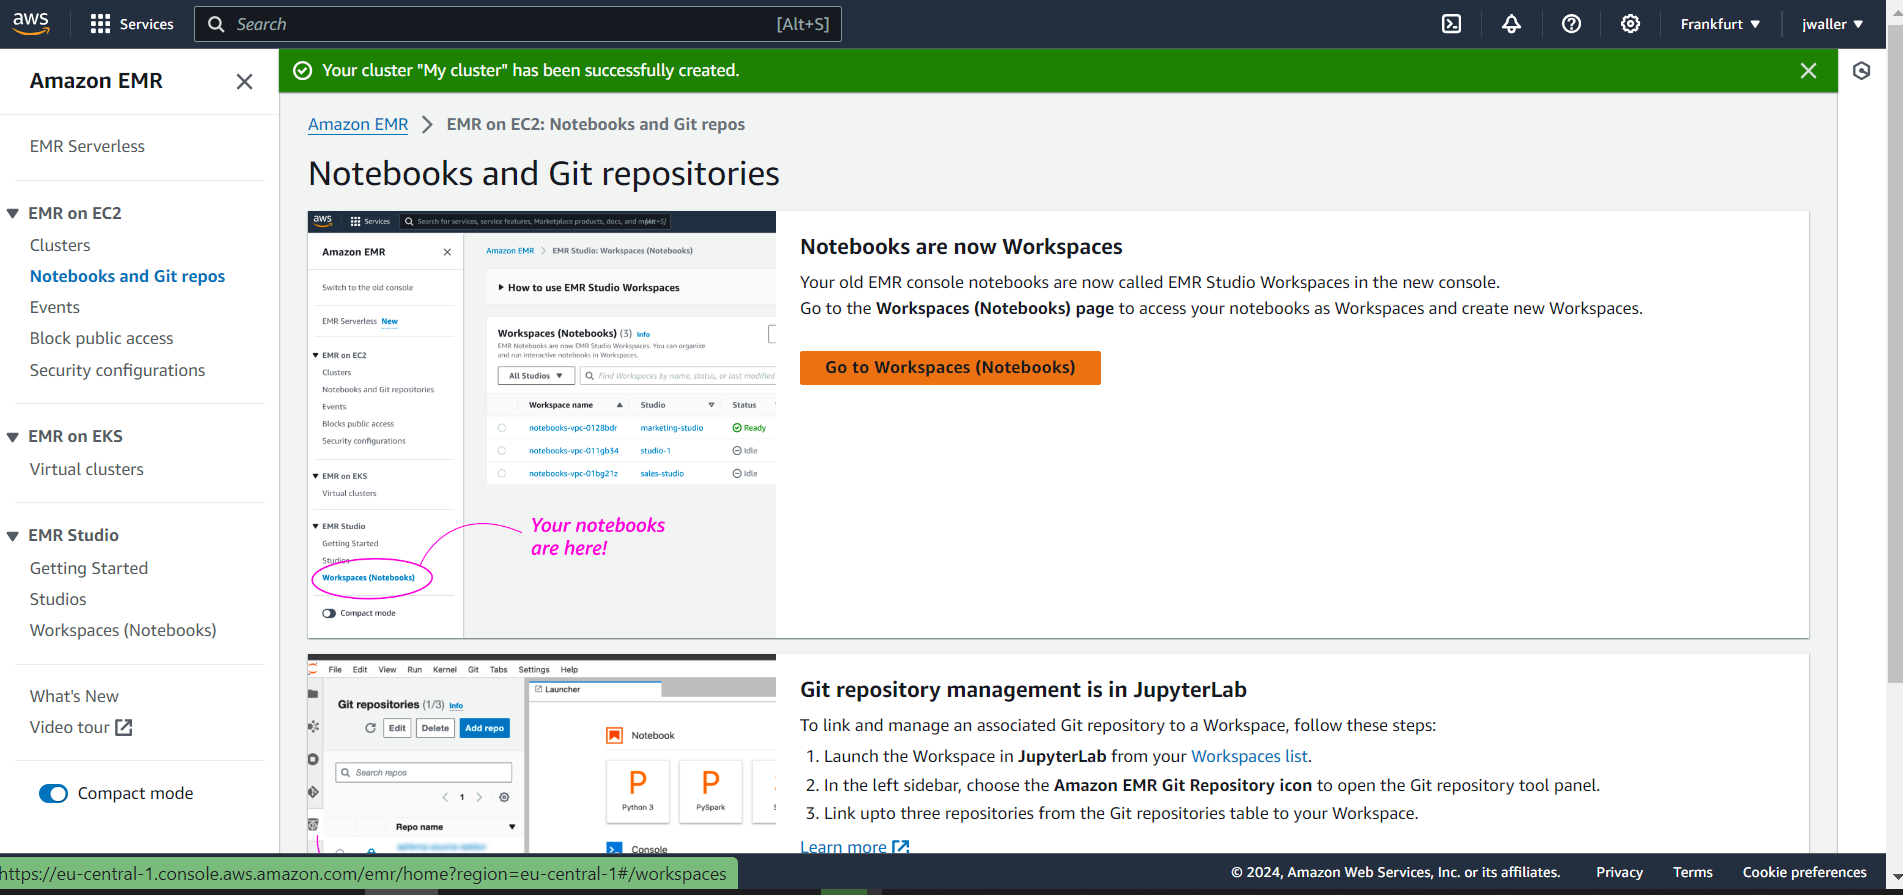
Next Find notebooks. Look in the side panel if you don’t find it.
Next Go to workspaces (notebooks).
Choose a cluster for your notebook. Choose the gbif_cluster from before.
Name your notebook. I called mine gbif_notebook.
Open your notebook. “Open in JupyterLab”.
You are now ready to run the examples below in your notebook. I will be running examples using the Python and Scala APIs.
Choose notebook kernel (Spark or PySpark).
Paste in one of the following code chunks below. They will both produce the same output. The code chunks will count the number of species (specieskeys) with occurrences in each country. Press shift-enter to run it.
Use the Spark kernel for this code chunk.
import org.apache.spark.sql.functions._
val gbif_snapshot_path = "s3://gbif-open-data-eu-central-1/occurrence/2021-06-01/occurrence.parquet/*"
val df = spark.read.parquet(gbif_snapshot_path)


val df = spark.read.parquet(gbif_snapshot_path)
df.printSchema // show columns
df.count() // count the number of occurrences. 1.2B

// find the country with the most species
val export_df = df.
select("countrycode","specieskey").
distinct().
groupBy("countrycode").
count().
orderBy(desc("count"))

export_df.show()
Use the Pyspark kernel for this code chunk.
from pyspark.sql import SQLContext
from pyspark.sql.functions import *
sqlContext = SQLContext(sc)

gbif_snapshot_path = "s3://gbif-open-data-eu-central-1/occurrence/2021-06-01/occurrence.parquet/*"

# to read parquet file
df = sqlContext.read.parquet(gbif_snapshot_path)
df.printSchema # show columns

# find the country with the most species
export_df = df\
.select("countrycode","specieskey")\
.distinct()\
.groupBy("countrycode")\
.count()\
.orderBy(col("count").desc())

export_df.show()
The result should be a table like this:
+-----------+------+
|countrycode| count|
+-----------+------+
|         US|187515|
|         AU|122746|
|         MX| 86399|
|         BR| 69167|
|         CA| 64422|
|         ZA| 60682|
Export a csv table
If you would like to export export_df from the previous section into a csv file for download, you need to set up a s3 bucket.
Go to s3. In the services drop down (there are a lot of services), find and click on S3.
Create a s3 bucket. You will put your csv table here.
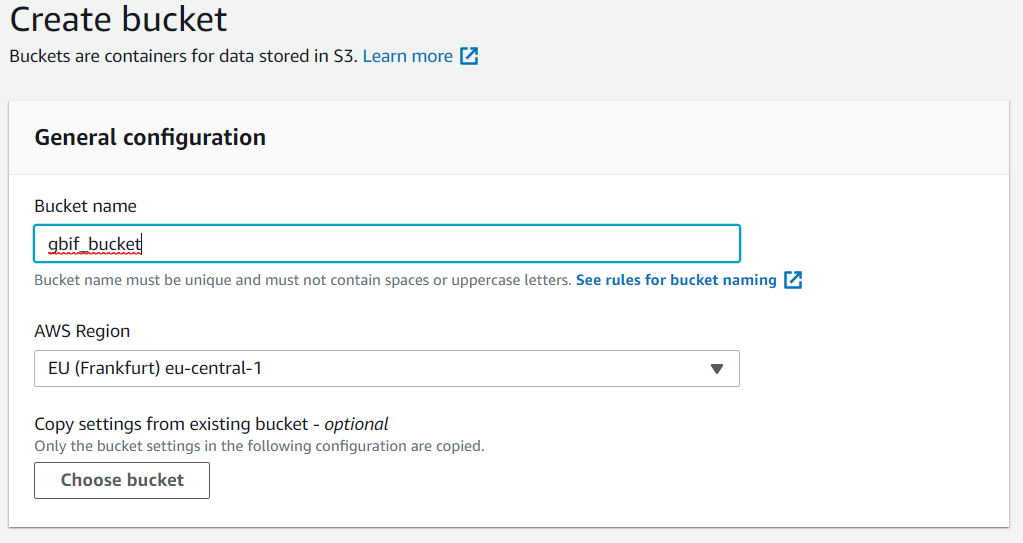
Give your s3 bucket a globally unique name. I have used “gbifbucket”, so you will have to pick another one. Keep all of the default settings. Now you can run the following code in one of your notebooks to export a csv file to your s3 bucket.
Change gbifbucket to your bucket name.
import spark.implicits._

export_df.
coalesce(1).
write.
mode("overwrite").
option("header", "true").
option("sep", "\t").
format("csv").
save("s3a://gbifbucket/df_export.csv")
export_df\
.coalesce(1)\
.write\
.mode("overwrite")\
.option("header", "true")\
.option("sep", "\t")\
.format("csv")\
.save("s3a://gbifbucket/df_export.csv")
To download. Go to your S3 bucket. Your file will be a directory named “df_export”. The file you want will look something like this:
part-00000-4c2e7420-b122-404b-b8c6-62adb07173e0-c000.csv
Citing custom filtered/processed data
If you end up using your exported csv file in a research paper, you will want a DOI. GBIF now has a service for generating a citable doi from a list of involved datasetkeys with occurrences counts. See the GBIF citation guidelines and previous blog post.
You can generate a citation file for your custom dataset above using the following code chunk. Since our export_df.csv used all of the occurrences, we can simply group by datasetkey and count all of the occurrences to generate our citation.csv file.
import org.apache.spark.sql.functions._
val gbif_snapshot_path = "s3://gbif-open-data-eu-central-1/occurrence/2021-06-01/occurrence.parquet/*"

val citation_df = spark.read.parquet(gbif_snapshot_path).
groupBy("datasetkey").
count()

citation_df.
coalesce(1).
write.
mode("overwrite").
option("header", "true").
option("sep", "\t").
format("csv").
save("s3a://gbifbucket/citation.csv")
You can also now use your citation file with the development version of rgbif to create a derived dataset and a citable DOI, although you would need to upload your exported dataset to Zenodo (or something similar) first.
# pak::pkg_install("ropensci/rgbif") # requires development version of rgbif

library(rgbif)

citation_data = readr::read_tsv("citation.csv")

# use derived_dataset_prep() if you just want to test
derived_dataset(
citation_data = citation_data,
title = "Research dataset derived from GBIF snapshot on AWS",
description = "I used AWS and apache-spark to filter GBIF snapshot 2021-06-01.",
source_url = "https://zenodo.org/fake_upload",
user="your_gbif_user_name",
pwd="your_gbif_password"
)
The derived dataset with a citable DOI will appear on your gbif user page.
Hopefully you have everything that you need to start using GBIF mediated occurrence data on AWS. Please leave a comment if something does not work for you.